
Ready to clean a house before moving out? As moving day approaches, excitement for your new chapter is mixed with the daunting task of the dreaded end-of-tenancy cleaning.
No need to let visions of scrubbing floors and scouring ovens overshadow your packing plans. Achieving a sparkling clean home and securing your deposit doesn’t have to involve hefty fees for professional cleaners.
This handy checklist is packed with easy to follow strategies that use budget-friendly cleaning products and smart planning to ensure you leave your place in pristine condition.
So, grab your trusty microfibre cloth, channel your inner cleaning warrior and prepare to tackle that move-out cleaning challenge head-on with our handy checklist.

Step 1: Planning And Prioritising Your Move Out Cleaning
Effective planning is key to a flawless move-out clean! Start by taking a detailed tour of your soon-to-be-former home, noting each area that requires attention.
Concentrate on zones your landlord is likely to inspect closely, such as the kitchen (don’t forget the oven!), bathroom (focus on grout and any signs of mildew) and any common living spaces.
Allocate more time to these critical areas while simplifying tasks in rooms that are already in good condition.
If you need professional help, consider reaching out to a cleaning service like Premium Clean, who offer carpet cleaning and upholstery cleaning services in all areas, for expert assistance in your move-out cleaning.
Step 2: Ensure Clear Communication with Your Landlord
Understanding the expectations outlined in your lease agreement is crucial for a successful cleaning effort before moving out. Carefully review the terms related to cleaning and maintenance requirements.
Don’t hesitate to contact your landlord or property manager with any questions or clarifications you might need, particularly about specifics like carpet cleaning or appliance upkeep.
Maintaining open communication not only clarifies responsibilities but also helps prevent misunderstandings and ensures that both parties are satisfied with the condition of the property at move-out.
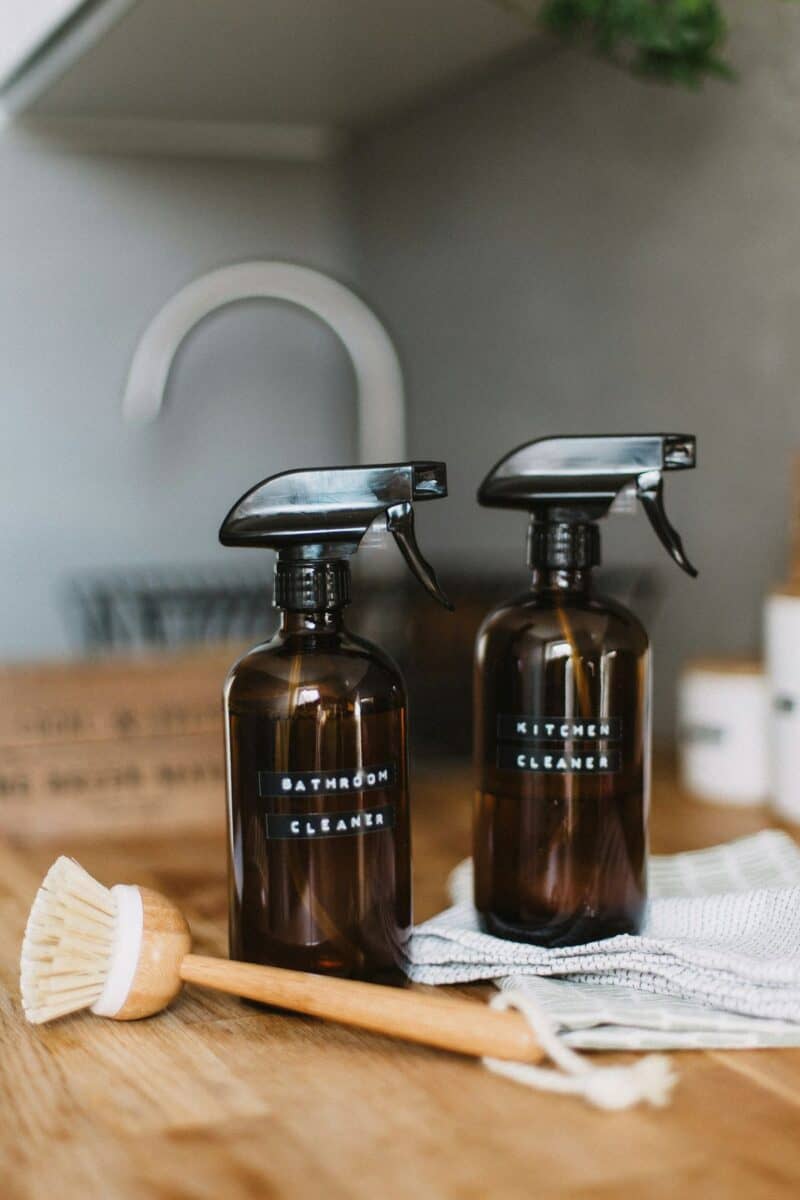
Step 3: Create Your Own Cleaning Solutions For Moving Out
Unlock the cleaning power hidden in your own kitchen cabinets! Skip the pricey store-bought products and turn to trusty household staples like vinegar, baking soda and lemon juice, which are natural and effective cleaners.
Mix diluted white vinegar to craft a potent disinfecting solution that tackles bacteria and germs. Use a thick paste of baking soda to cut through tough grease and grime. For a final touch of freshness, spritz areas with a lemon water spray to leave your space smelling clean and vibrant.
These DIY solutions are not only cost-effective but also environmentally friendly, ensuring you leave your home spotless without the harsh chemicals.
Step 4: Use Microfibre Cloths For Your Move Out Clean
Make microfibre cloths your go-to tool for cleaning when moving out. These cloths are a game-changer in your cleaning arsenal due to their reusable, eco-friendly nature.
Their densely woven fibres effectively trap dust, grime and bacteria, reducing the need for harsh chemical cleaners. Ensure you have plenty on hand to tackle everything from wiping down kitchen counters to polishing windows.
Using microfibre cloths not only promotes a greener cleaning routine but also elevates the efficiency and effectiveness of your move-out cleaning process.
Step 5: Ensure Your Cleaning Equipment Is Up To The Task
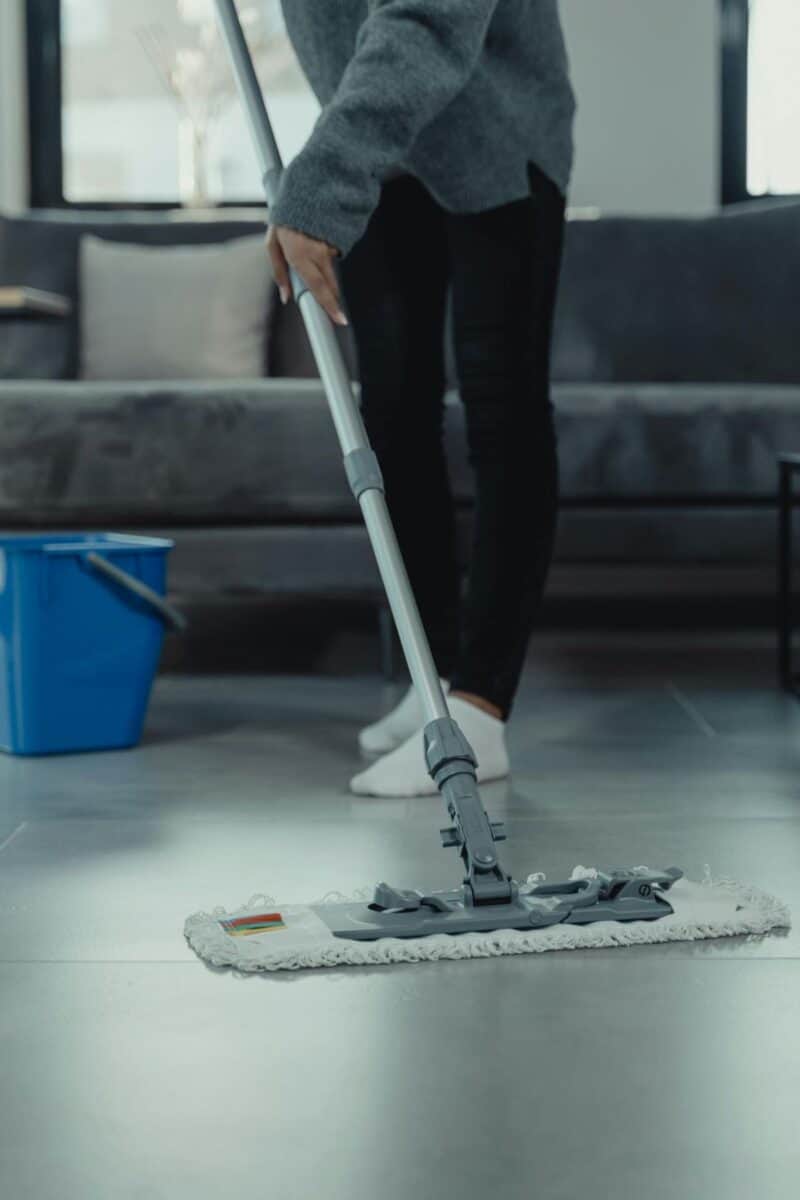
Ensure your deep cleaning tools are in top shape to facilitate a thorough move-out clean. Vacuum cleaners and mops perform best when they are clean.
Make it a routine to replace vacuum bags and filters regularly and give mop heads a thorough wash with hot, soapy water before you start your cleaning spree. Remember, using clean tools is crucial as dirty ones can redistribute dirt and grime, complicating your efforts.
Step 6: Declutter to Maximise Cleaning Efficiency
Begin your cleaning process by clearing the clutter. A cluttered space can significantly complicate your cleaning efforts, making it difficult to reach every corner.
Set aside a day or two before you dive into the deep cleaning to sort through and pack away your belongings. Making sure you declutter quickly not only gives you more room to work but also ensures that you can thoroughly clean all those hidden nooks and crannies.
Step 7: Clean Stubborn Stains Promptly
Early intervention is crucial for dealing with tough stains effectively. Whether it’s persistent oven grime or stubborn carpet spills, addressing these issues as soon as they occur can significantly ease the cleaning process.
The longer stains sit, the more difficult they become to remove. Utilise your trusted natural cleaning solutions mentioned in Step 2 or opt for specialised stain removers that are designed for these kinds of challenges.
By tackling stains early, you ensure they don’t become permanent marks, helping you maintain the pristine condition of your space.
Step 8: Ask For Help And Speed Up The Cleaning Experience
Cleaning is better together, especially when preparing to move out. Distribute the workload among roommates, partners or even helpful neighbours.
Divide tasks according to individual strengths and preferences to enhance efficiency and enjoyment. Turn up your favourite tunes to create an upbeat and motivating atmosphere.
Having help not only makes the process more enjoyable but also speeds up the cleaning, ensuring that no area is overlooked and every corner shines.
Step 9: Infuse The House With A Welcoming Scent
After the cleaning is done, ensure your home smells as good as it looks. Simmer a pot of water with cinnamon sticks, citrus peels and cloves to naturally infuse your home with a fresh and inviting scent.
Alternatively, place scented sachets in closets or sprinkle a few drops of essential oil on the air filters. This will leave the whole house smelling great when the inspector arrives.
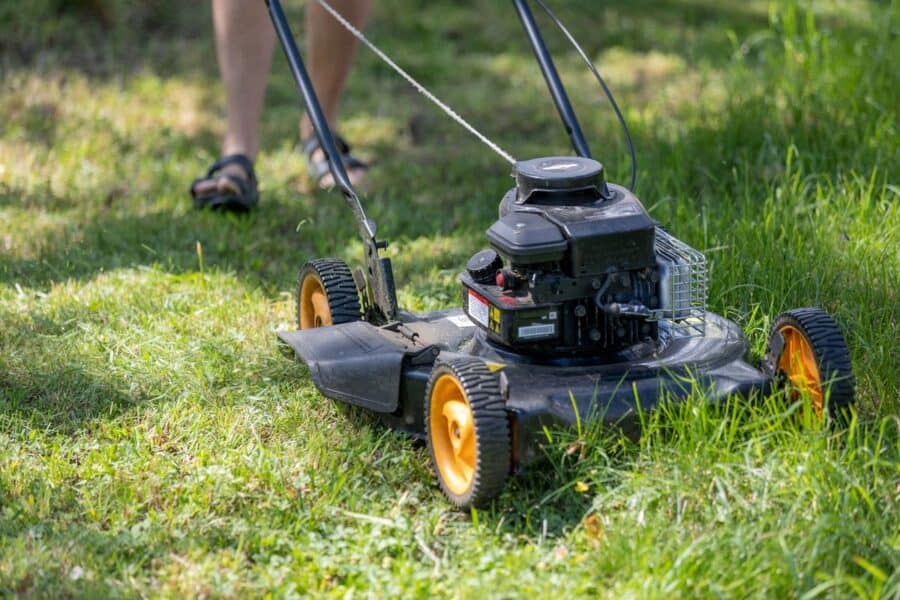
Step 10: Don’t Forget An Outdoor Cleanup
If you have a yard or outdoor area included in your tenancy, make sure it’s as tidy as the indoors.
Mow the lawn, trim the bushes and clear any dead plants or debris. Sweeping patios and wiping down outdoor furniture can also enhance the overall appeal of the home, showing thorough care and maintenance.
Step 11: Spot Check With A Fresh Eye
When you’re wiping skirting boards and checking corners, keep an eye out for pest damage too, and have a quick read on why termite damage is not covered by insurance so you’re not caught out by an expensive surprise.
Before you declare victory over your move-out clean, take a final walkthrough with a friend or family member who hasn’t been involved in the cleaning process.
A fresh pair of eyes might catch details that you’ve overlooked. This is especially useful for spotting blemishes in hidden areas or dust on higher surfaces.
Step 12: Take Photos Of The House Before You Move Out For Proof
Once everything is spotless, take detailed photos of each room and any appliances left in the property.
These images can serve as proof of the condition you left the home in, should there be any disputes with the landlord about the state of the property or the return of your deposit.
Wrapping Up The Essential Checklist To Clean A House Before Moving Out
Congratulations on mastering the art of cleaning before moving out! By following the steps featured, you’ve not only prepared your home for a thorough inspection, but you’ve also ensured that you leave it in immaculate condition for the next residents.
If you’re relocating and considering your next move, discover why Leeds could be the perfect place to call home with our comprehensive guide to Moving to Leeds.
Recommend reading
- The Ultimate Cleaning System: Check out our Vorwerk Kobold VK200 review to find out how this system can help with your house clean.
This isn’t just about securing your deposit, it’s about taking pride in your living space and respecting the incoming occupants. Remember, a clean home reflects a responsible tenant and sets the stage for a smooth transition to your new abode.
